Why should I install a CI/CD pipeline? How will it benefit my business? These are the most common questions about the CI/CD pipeline. Do not worry! You are in the right hands. Here, we will explain everything about the Azure DevOps CI/CD pipeline.
However, our primary focus is how to create a CI/CD with Azure DevOps. Before getting into these details, you should be familiar with DevOps and CI/CD pipelines. Are you ready? We are about to begin.
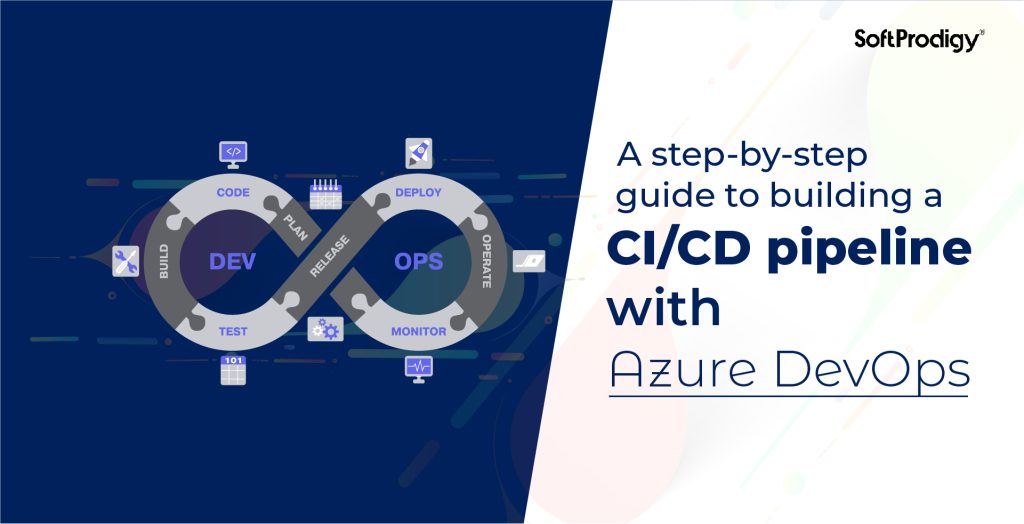
What is Azure DevOps?
Created by Microsoft Azure, DevOps is one of the best tools. It offers development services that developers can use to plan, build, execute, collaborate, and support applications. Besides this, Azure pipeline companies can access integrated features using an IDE or a browser. These include Azure Pipelines, Azure Repos, Azure Boards, Azure Artifacts, and Azure Test Plans.
DevOps companies use these features to build an automated CI\CD pipeline. Following are the benefits of using Azure DevOps in the development process.
- DevOps developers can leverage Azure Boards to distribute the tasks and monitor the project’s health.
- Plus, Azure Repos allows you to host code in the cloud. As a result, each team member can access, contribute, and track the task easily. But they should have access to the same.
- Azure Pipeline automated most tasks like software development, deployment, and production. As a result, it delivers software faster. Additionally, it offers numerous advantages for Azure DevOps Pipeline deployment.
If we have to say why it is better than other tools in a few words, it is flexible, cloud-independent, and platform-independent. That is why it is a preferred option for creating a CI/CD pipeline.
You have enough knowledge about DevOps and the associated benefits of using it to create a CI/CD pipeline. Below is a step-by-step guide to building a CI/CD pipeline. But why do we need to create it in the first place?
A CI/CD pipeline refers to continuous integration and continuous deployment. In software engineering, developers use the Azure pipeline to deliver the latest version. So, its primary purpose is to improve software delivery using automation. Considering how beneficial a CI/CD pipeline is, let us go through its creation with Azure DevOps.
Creating CI/CD Pipelines
Follow these steps to build a successful Azure DevOps CI/CD pipeline. Also, we learned about the various features of Azure DevOps. Among all Azure, Pipeline plays a vital role in creating continuous integration and continuous delivery.
1. Creating an organization
In the first step, you have to create an organization. You can follow this to do so.
- Use the URL – DevOps.azure.com and sign in to Azure DevOps.
- After this, hit the New Organization link and create an organization. It will also help your project navigation. Upon prompted for Terms and Conditions, choose Continue.
- Now, fill in the details on the screen like the organization name, location, and the captcha. Once done, click Continue.
2. Crafting a new project
Now, you have created the organization. You will receive a confirmation email about the same. When you click the given link, you will get redirected to a page for new project creation.
- Once you are on the page, add your project name and select visibility (public or private). Also, you have to choose Scrum and Git from the advanced tab.
- It is time to hit the Create Project button.
- After this, you will reach the organization dashboard.
3. Using the YAML file for the .NET Core Pipeline
The next step in building the Azure DevOps CI/CD pipeline is to create .NET Core Pipeline. For this, we will use the YAML file.
- From the organization dashboard, click the project name.
- On the screen, you will have several options. Choose Pipelines, followed by New Pipeline.
- Now, go to GitHub using this link – https://github.com/MicrosoftDocs/pipelines-dotnet-core. If you want to fork the repo, you should follow the steps of the wizard. The first one is to select GitHub as the source code.
- It is time to authorize the Azure Pipelines access to the GitHub repository. It requires you to sign in using your GitHub credentials. Finally, hit the Authorize AzurePipelines button.
- Remember, the repository name you forked previously, and you will see the same.
- You will get a list of repositories and choose yours.
- You will be navigated to GitHub. Here, you have to approve and install Azure Pipelines.
- Now, select ASP.NET Core to configure the tab that appears.
- Review your YAML file and select save and run.
- A pop-up will appear. Here, you should enter your message, which is followed by clicking on Save and Run.
Your basic Azure DevOps CI/CD pipeline is ready. You can start using it to build and run the code.
4. Managing pipeline
Once installed and running, managing your Azure DevOps CI/CD pipeline is crucial. To do so, you can use Azure CLI. And you have to leverage the “az pipelines” command for the same. For example, utilize the “az pipeline run” command to run the existing pipeline. On the other hand, “az pipeline update” allows you to update the existing pipeline.
The Bottom line
However, it is an excellent tool for building a CI/CD Pipeline for various reasons. It lets DevOps deployment Pipeline services providers communicate and collaborate with other teams. As a result, it boosts their productivity and results in high-quality products. Also, it reduces the time they take to deliver the products.
If you are searching for a reliable Azure DevOps CI/CD pipeline company, SoftProdigy is your best match. We have years of experience delivering high-quality services.